3 Superb Custom Sky Programs
Adding One Or More Custom Sky Programs To Your Photo Editing Tools Will Change An Okay Photograph Into A Superb Photograph
For years I would enhance my photos by changing the sky, in Photoshop or Gimp.
As part of that process, however, I needed to bring the sky tones/colors into the landscape itself, and, perhaps, additionally re adjust parts of the non sky landscape. Some recent custom sky programs made that job much easier.
Changing a dull gray landscape with a beautiful sunset sky, does not work if the rest of the photo reflects the dull gray day.
Recently, however, I have started using three different programs to get the above effects with more ease and quicker.
The really nice things about all the programs below is they easily let you re light the area below the sky to work with sky. If you add a sunset sky to midday photo without adjusting the lighting below the sky, it is going to look photoshopped. While this can be done, without any add ons, in PS, there is something to be said for easing the workload.
They are Luminar 4, by Skylum and Landscape Pro, (jump to Landscape Pro writeup) by Anthrophics. They both produce superb results, but differently. Recently, Photoshop CC added Sky Replacement under Edit.
Photoshop CC
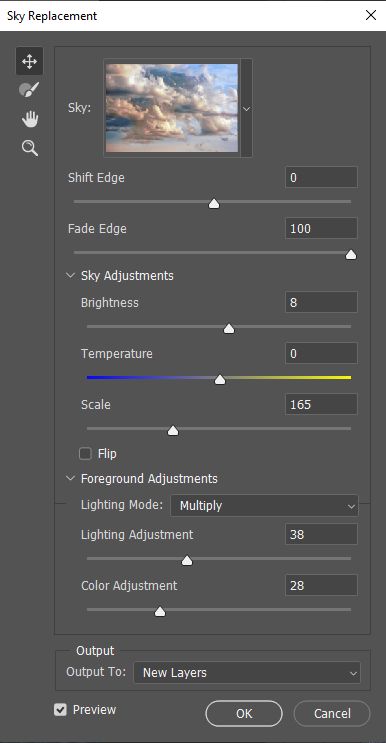
Sky Replacement in PS, under Edit, uses some different controls that the programs below, for a quick and easy solution it works.
The options, below present a short but good list controls. Clicking the down arrow by the Sky: will give the built in skies. You can add your own, but is does seem one at a time. You can also import a .sky file of skies.
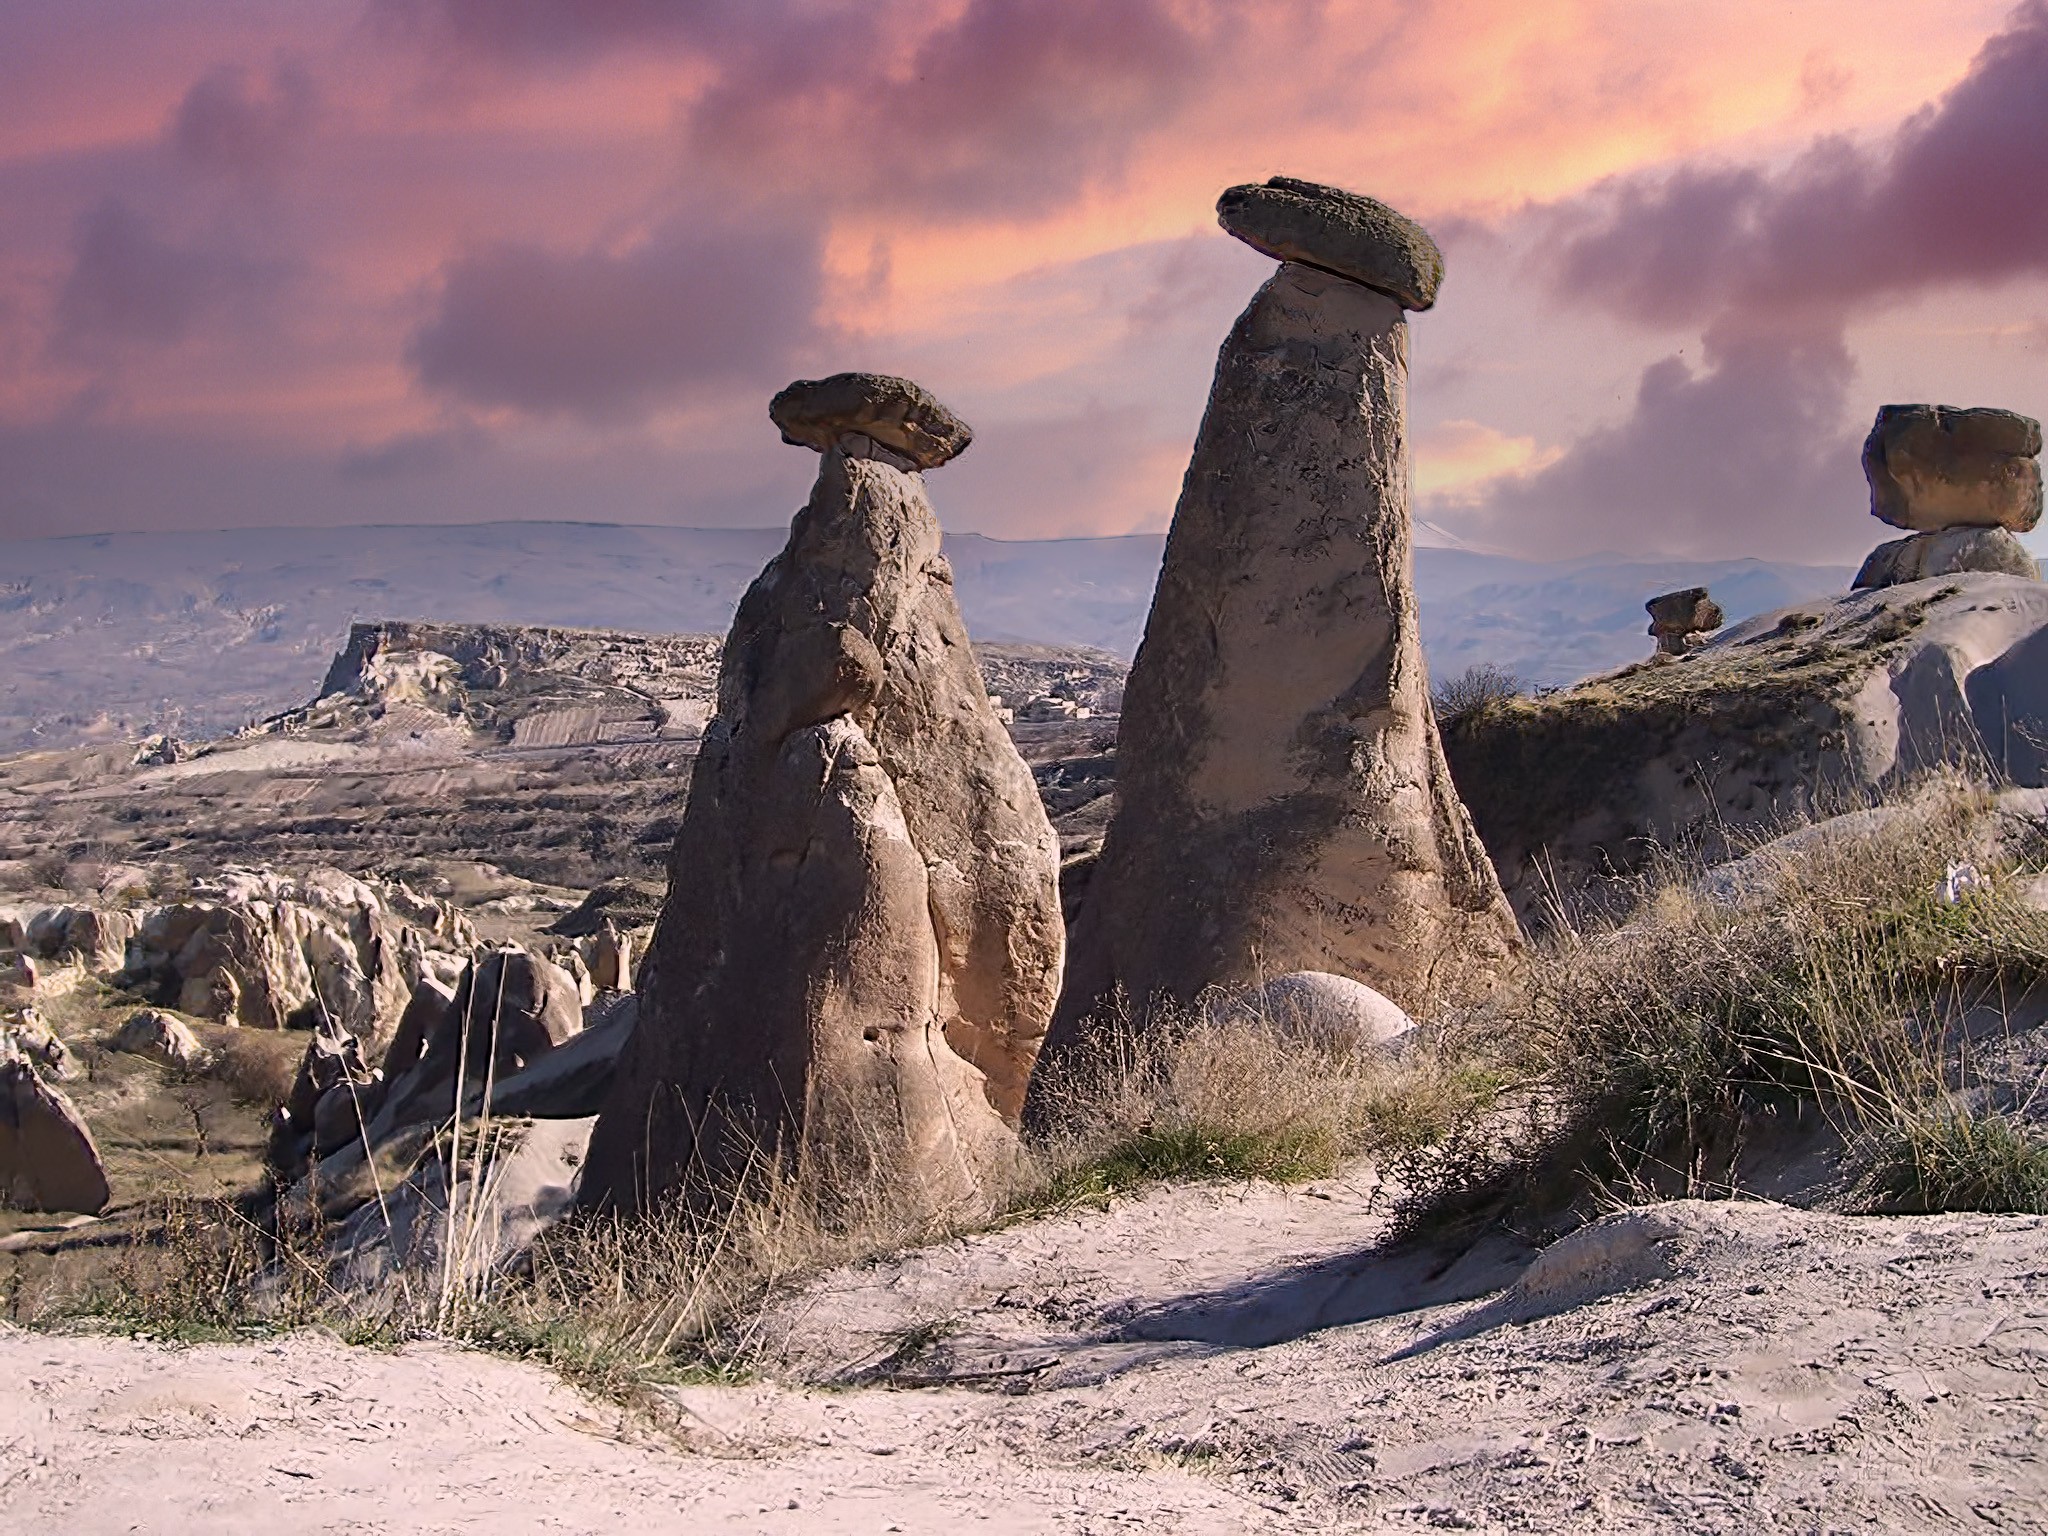
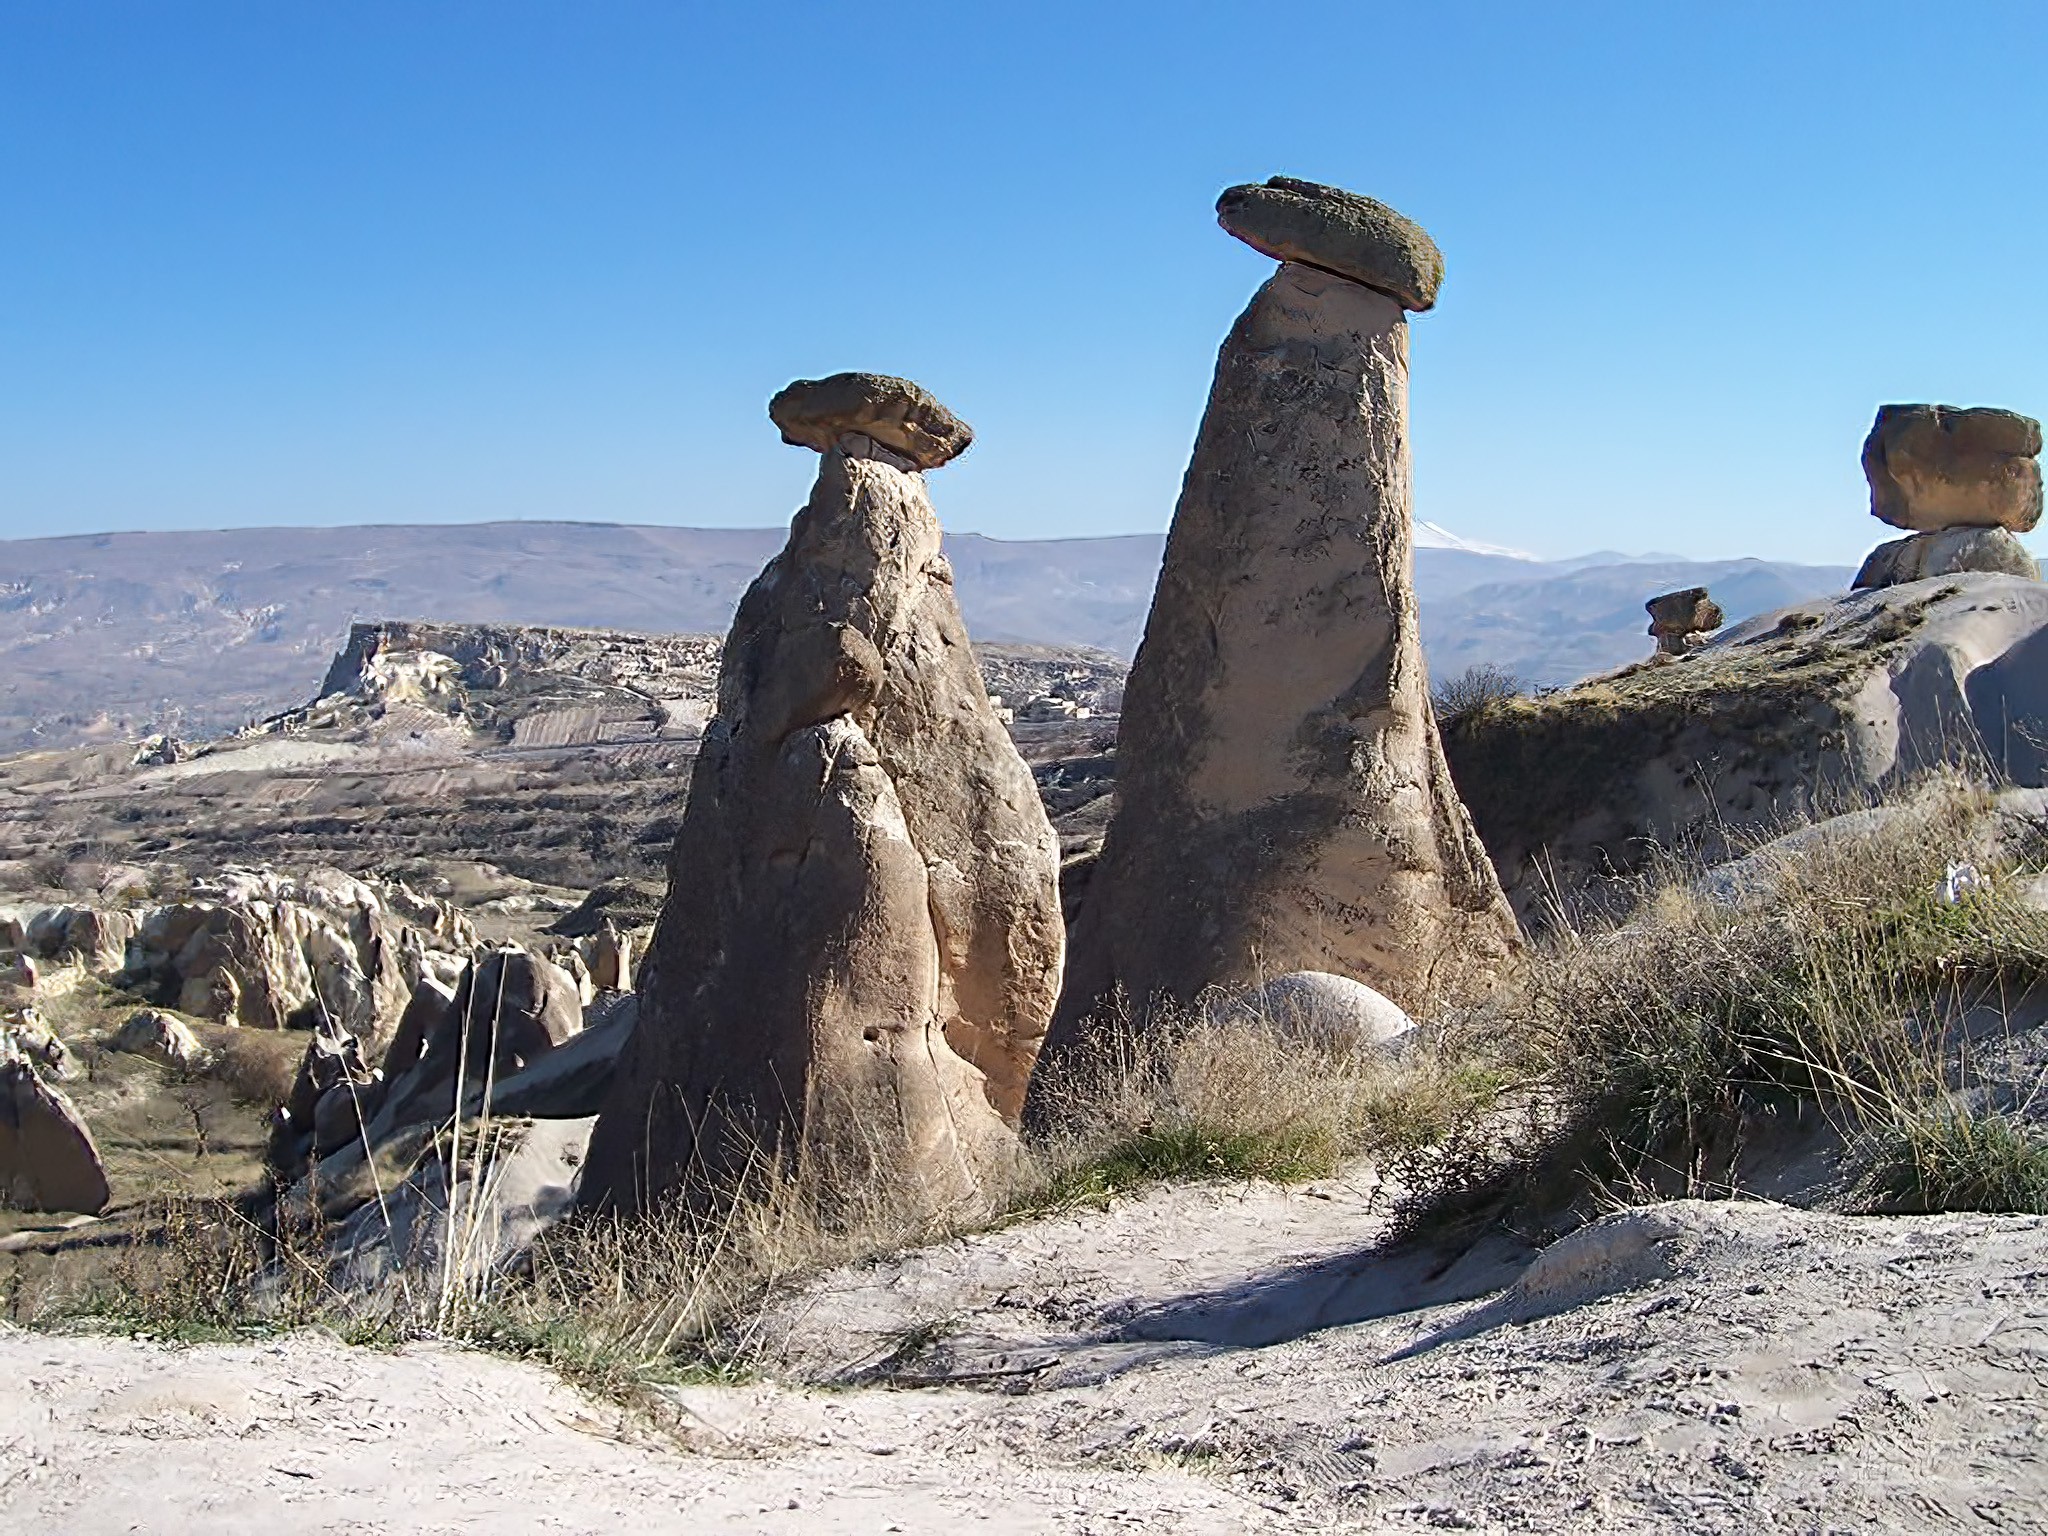
Sample before and after:
Underground City, Cappadocia, Turkey
On the AFTER, it is important to note any shadows from the original, so the light from the new sky is coming from the proper direction.
Luminar 4
(by Skylum) can work as its own full featured photo editing program. It works from both Lightroom and Photoshop, as well. For the purposes of this post, however, I am only dealing with some specific features.
Under its Creative Icon is an option to change the sky. Within that option you have control sliders to move the sky around and to re light the photo from the sky. There are other sliders as well, but these are key ones.
The program has a short but decent list of replaceable skies. You can buy more, or select your own.
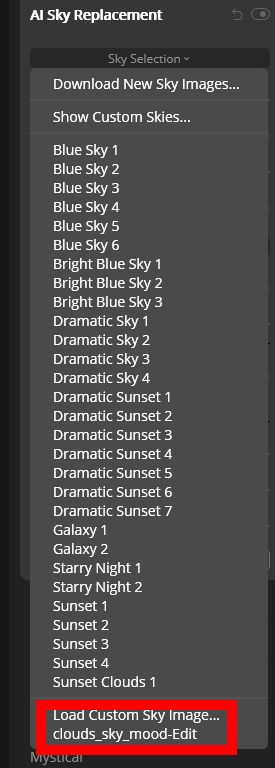
I prefer to use my own sky shots. The program will open the folder of your choice, but does not actually show the sky in photo format.
For this I use Adobe Bridge to see the sky I want, and then load it in Luminar 4.
The great thing about this option is that it will paint the sky, in the right places for you.
If the sky is too complicated, however, perhaps with too many trees and buildings, the sky replacement option will be blocked out..
Luminar 4 has dozens of post processing features, some standard like contrast, blacks and whites and some other esoteric ones like Sunrays and Mystical. It can run as a stand alone program. For the purpose of this post, however, I am only discussing sky replacement.
This one feature, however, enables me to quickly change a boring sky in to a superb sky with adjusted lighting for the rest of the photograph.
I made two versions of the above photo using Sky Replacement, some CA repair in PS and fine tuning in LR.
Here is the photo I loaded of the California coast.
In Luminar 4, select the second option (creative), AI Sky Replacement and Sky Selection.
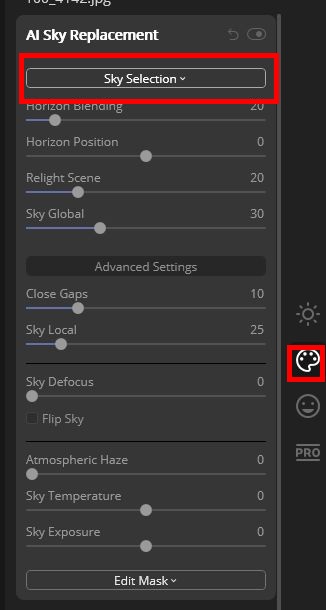
Then select Sky Selection, which will give you some skies, and you can buy more. I use my own skies, however. I keep the actual image open in Adobe Bridge, as Luminar 4 will just provide file names.
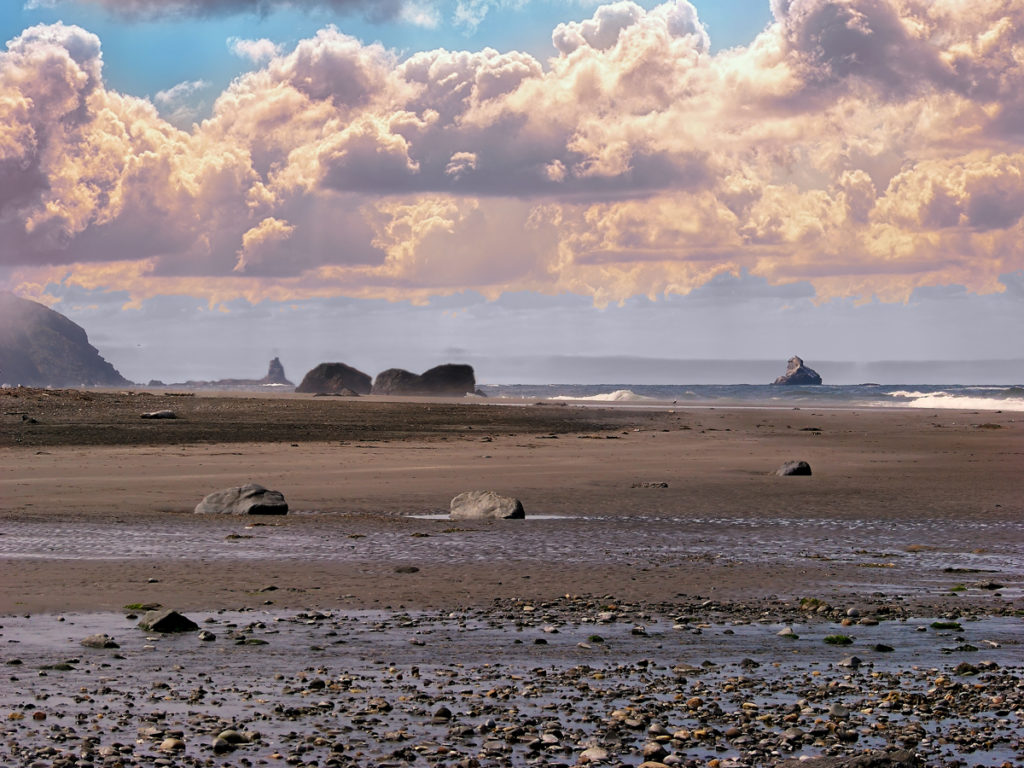
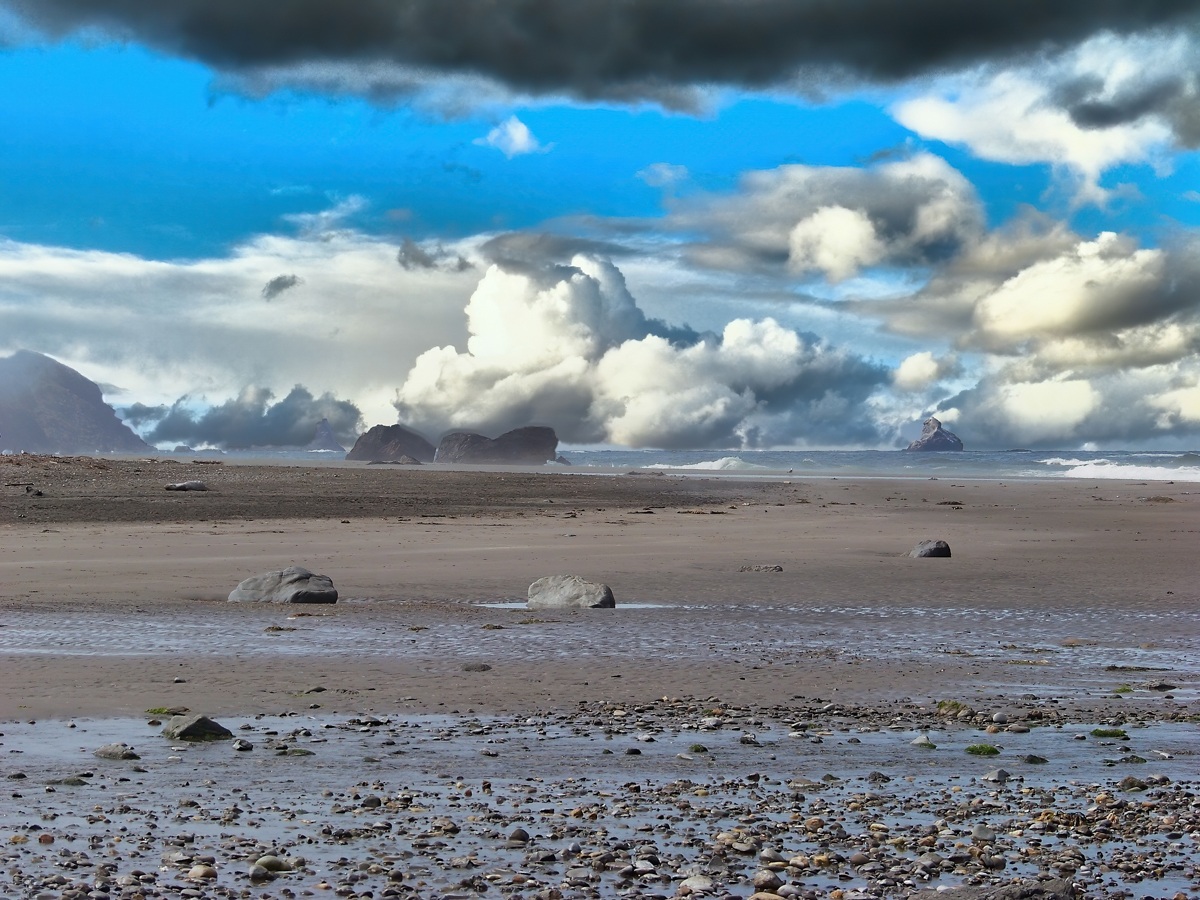
Same photo, different sky.
See my 12 minute tutorial  on an easy way to handle a complex sky in Landscape Pro
Landscape Pro’s sole function is to make your photograph as drop dead gorgeous as possible. Despite the title (landscape), I will also use the software for other types of photographs.
In Landscape Pro you can easily fine tune individual aspects of your photo. See Add & Edit Areas in the graphic below.
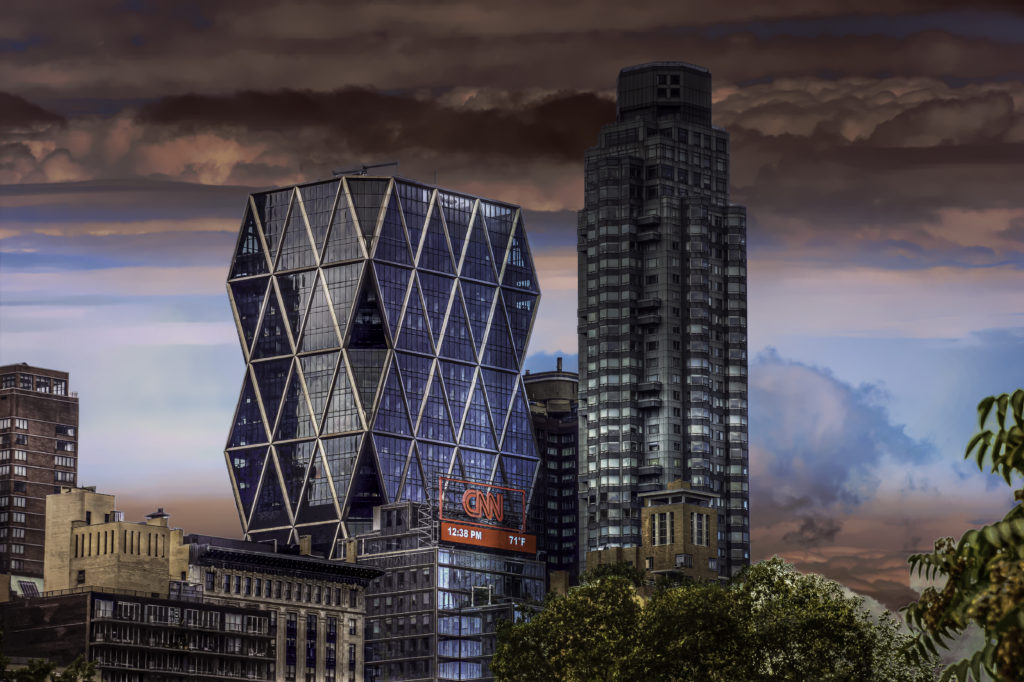
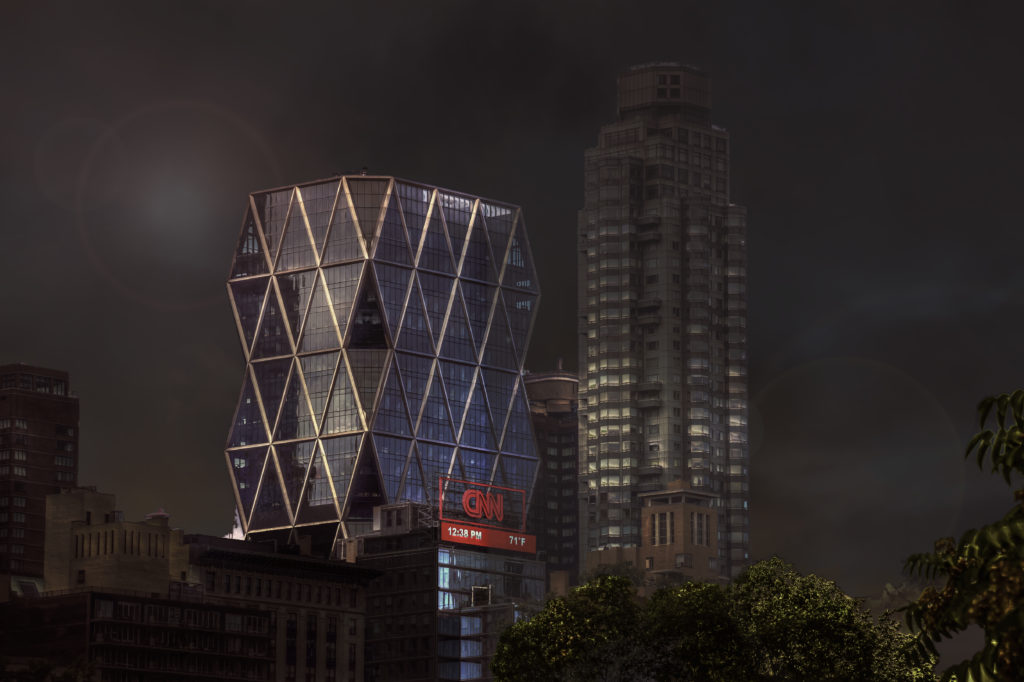
Most of my Buildings US gallery took advantage of Landscape Pro
This software works stand alone or from Photoshop. When working from PS, be sure to work on a duplicate layer, so you do not lose your original.
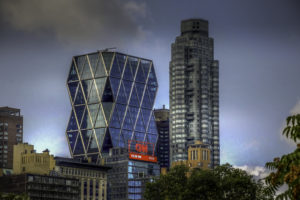
Let’s start with the photo below.
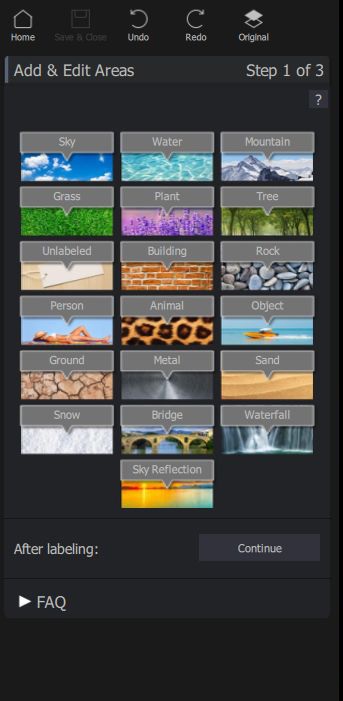
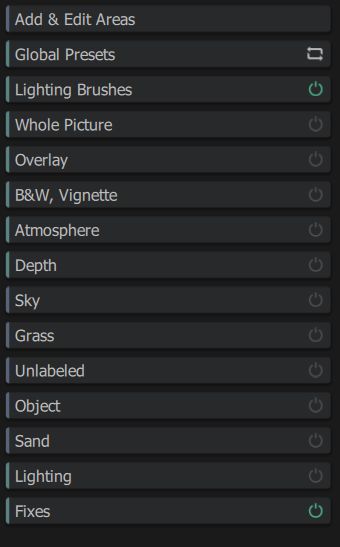
Once you Continue you then have a list of all the possible parts of your photo that you wish to work on.
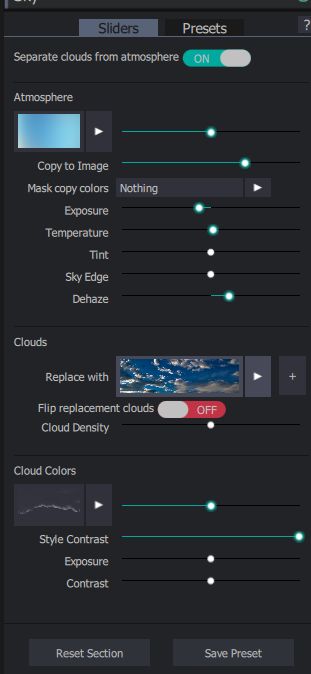
Within each object you will have a list of presets and sliders. This is the sky sliders. While the software offers dozens of skies, I can use the Replace With to pick my own. I can also change the atmosphere and the cloud colors along with everything else you see.
At the very end of it all is the Lighting option. This lets you adjust the light source for the photo.
The results:
Glenn Abelson
Comments always welcome, below.
