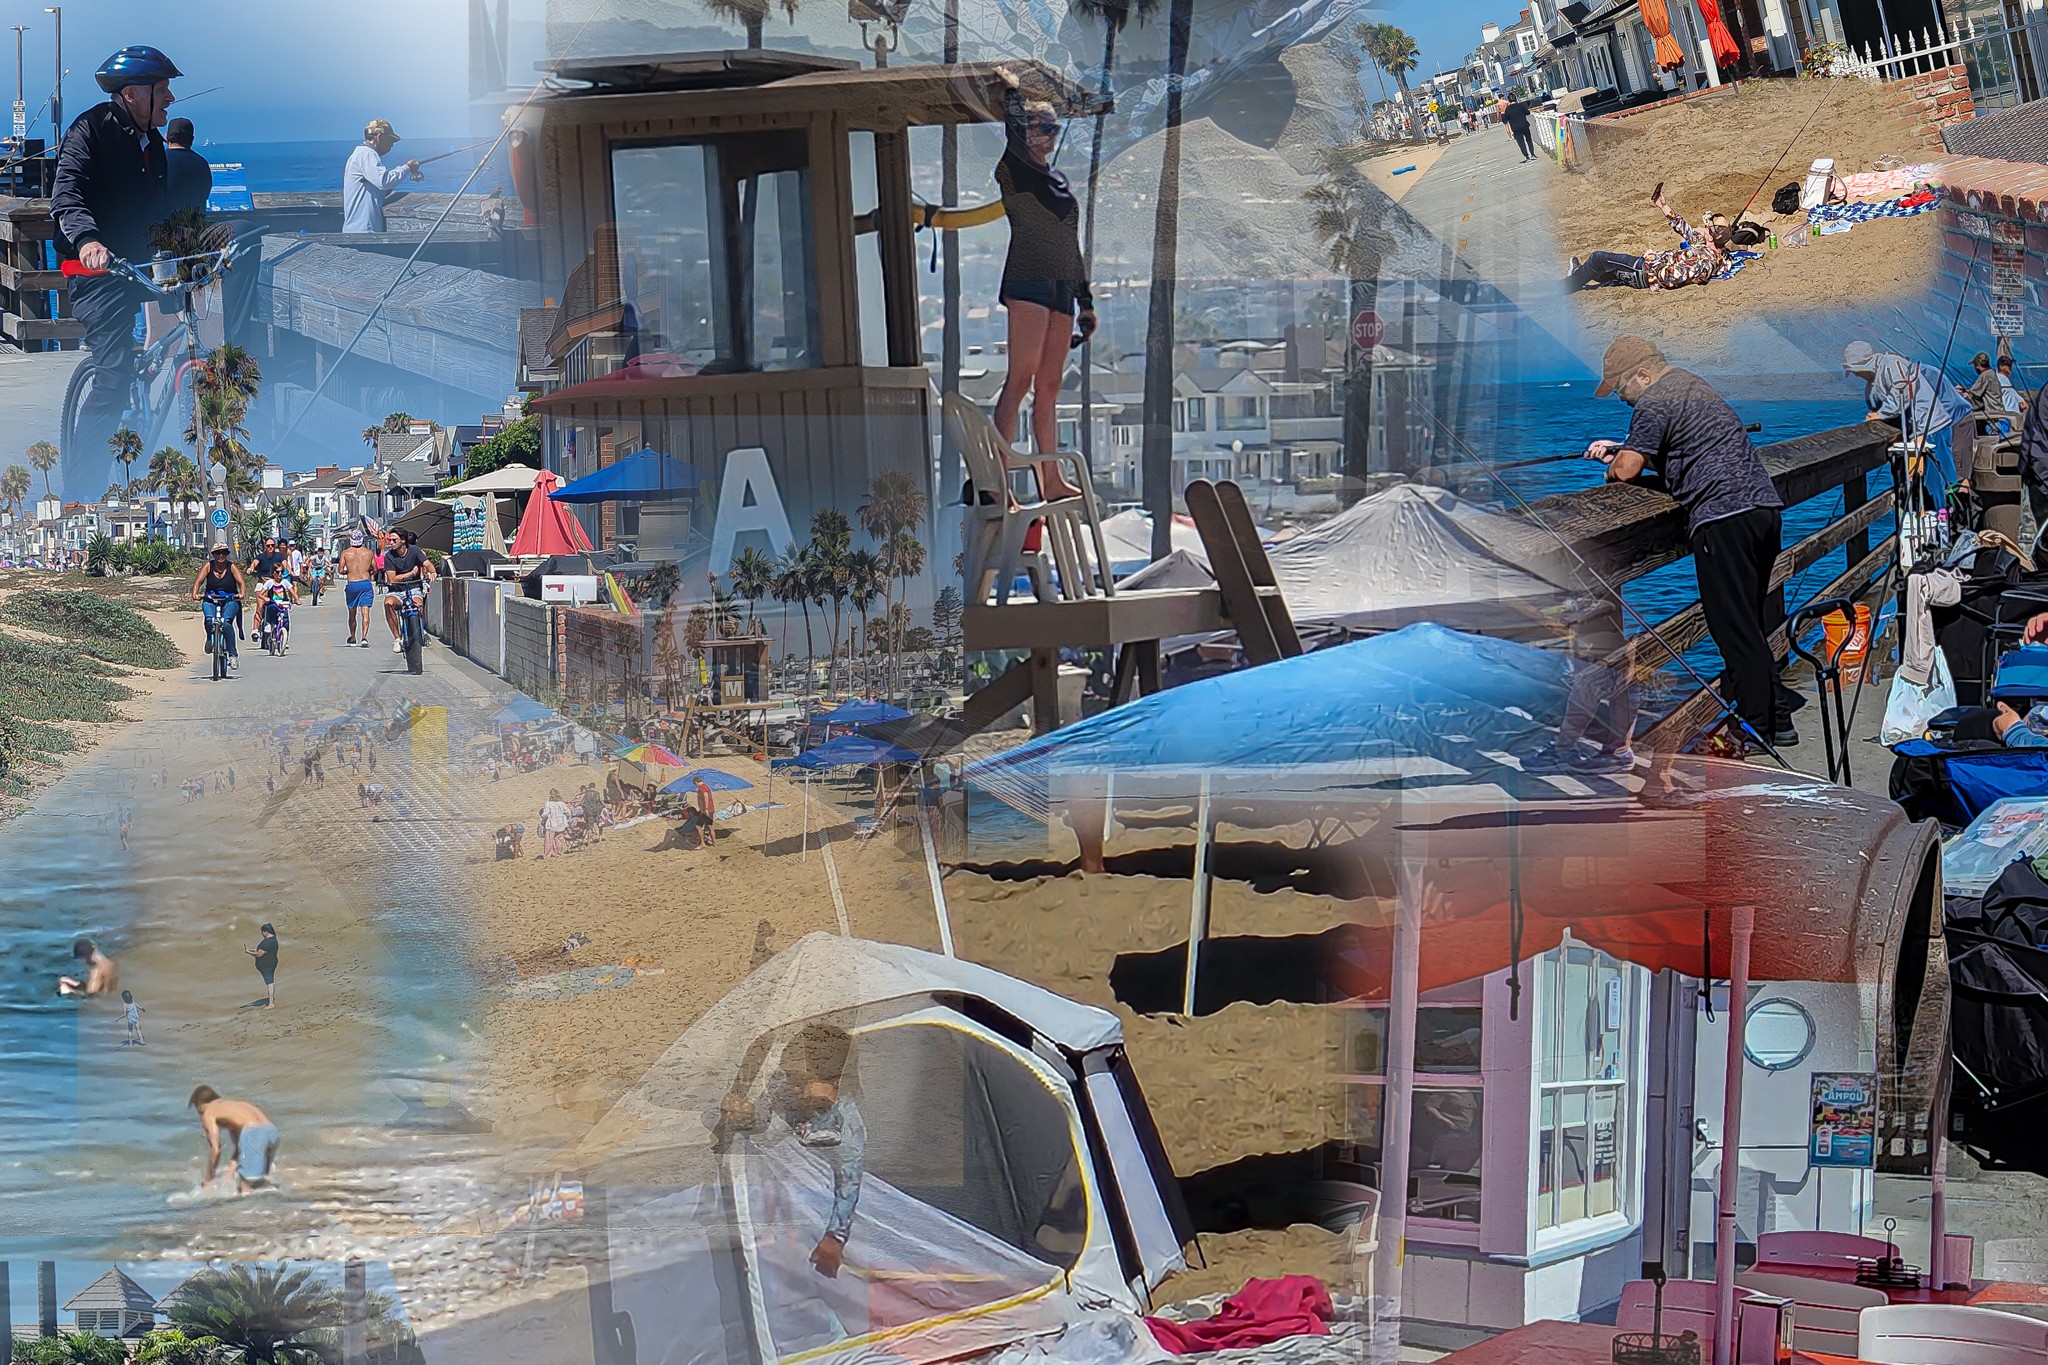
Photoshop Collages In 5 Easy Steps
Years ago, when I tried to make a collage with blended edges (as opposed to David Hockney style) I would use a layer mask with a brush to try to smooth out the edges, with limited success. The quick tutorial below really works.
Collages In 5 Easy Steps
-
Add a layer mask to the image you want to blend. With the mask selected, apply a gradient filter that runs from black to transparent. This creates a smooth transition and allows one image to fade naturally into the other.
-
Adjust the gradient direction and length until most of the edges blend more easily into the background or neighboring layers.
-
Once the general blend looks good, switch to the brush tool while staying on the same layer mask. Use a soft-edged brush at a lower opacity to fine-tune the transition.
-
Paint with black to hide parts of the edge more strongly, or with white to reveal details if you’ve hidden too much.
-
Continue refining until the edge looks clean and natural, giving your collage a seamless, polished finish.
Below is a walk around Balboa Beach, CA
There are over a dozen actual photos here. They were all taken with my cell phone. The updated versions of Lightroom and Photoshop give you plenty of power to turn each snapshot into a great photo.
In some cases I fully blended the lines.
Sometimes I left a slight edge.
On occasion I used less than 100% opacity.
A good step by step video is here: Build A Collage, Photoshop Cafe, Collin Smith
If you consider a collage a type of creative photography, see this blog post as well.
