Photoshop Collages In 5 Easy Steps
Here is an expanded version that stays consistent with your tone while getting you comfortably past 600 words and improving flow and SEO value:
Years ago, when I first experimented with creating photo collages with blended edges (as opposed to the more defined, cut-and-assembled look often associated with David Hockney-style compositions), I relied heavily on layer masks and a soft brush. The idea was simple: gently paint away harsh edges and try to create a smooth transition between images. The reality, however, was less impressive. The results were often uneven, the blending looked forced, and I spent far too much time trying to fix edges that never quite cooperated.
Fortunately, there is a much easier and more effective method.
What follows is a quick, reliable approach that produces clean, natural-looking blends without the frustration. If you’re working in Photoshop, Lightroom, or similar editing software, this technique can dramatically improve your collage workflow.
Collages in 5 Easy Steps
1. Start with a Layer Mask
Add a layer mask to the image you want to blend into your base photo. This gives you full control over what is visible and what fades away. Make sure the mask—not the image itself—is selected before moving to the next step.
2. Apply a Gradient for Smooth Blending
With the layer mask selected, use the gradient tool and apply a gradient that runs from black to transparent (or black to white, depending on your settings). This is where the magic happens. The gradient creates a gradual transition between images, allowing one photo to fade naturally into another without harsh lines.
3. Adjust Direction and Distance
Experiment with the direction and length of the gradient. A longer gradient creates a more subtle blend, while a shorter one produces a sharper transition. Dragging the gradient at different angles can also help align the blend with natural elements in your image, such as horizons, walls, or shadows.
4. Refine with a Soft Brush
Once the overall blend looks good, switch to the brush tool while staying on the same layer mask. Use a soft-edged brush at a lower opacity (typically 10–30%) to fine-tune the edges. This step allows you to correct any awkward transitions the gradient didn’t fully resolve.
5. Paint to Perfect the Edge
Paint with black to hide more of the image and soften edges further, or switch to white to bring back details if you’ve gone too far. This back-and-forth process is quick and forgiving, especially compared to trying to do everything manually from the start.
Continue refining until the transition looks natural and cohesive. The goal is a seamless blend where the viewer doesn’t immediately notice where one image ends and another begins.
A Real-World Example: Balboa Beach, CA
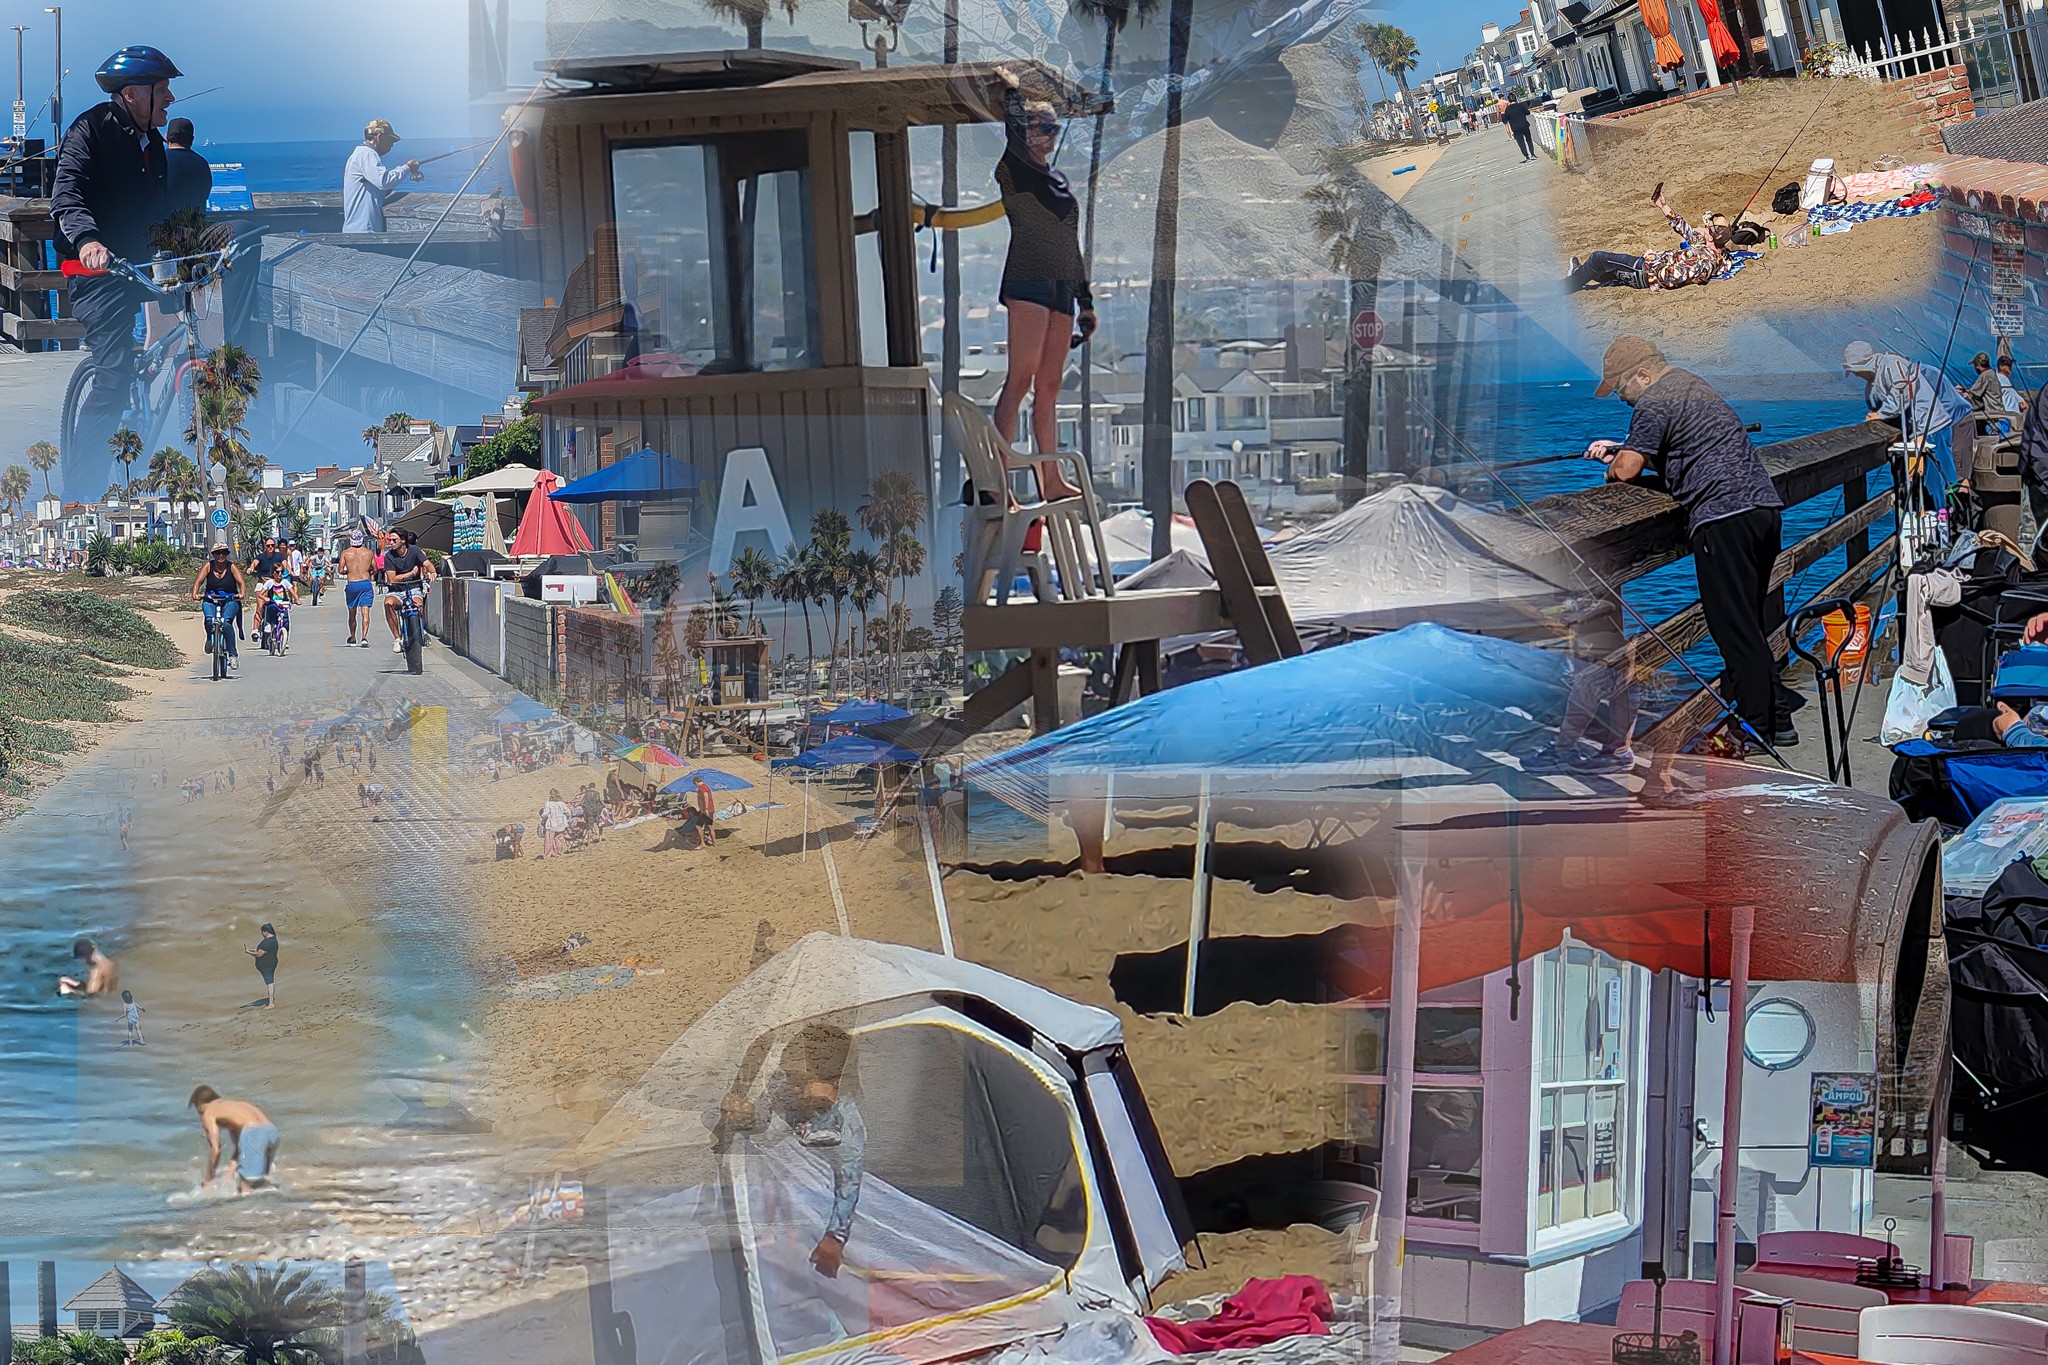
The collage below was created from a walk around Balboa Beach in California. There are over a dozen individual photos combined into a single composition. Every image was taken with a cell phone—nothing fancy, no special equipment, just snapshots captured along the way.
What makes this particularly interesting is how far modern editing tools have come. The latest versions of Lightroom and Photoshop provide an incredible amount of control, making it possible to turn ordinary photos into something much more compelling.
In building this collage, I experimented with several different blending styles:
- In some sections, I fully blended the edges to create a smooth, almost painterly look.
- In others, I intentionally left a slight edge visible to preserve a sense of structure and separation.
- Occasionally, I reduced opacity rather than fully masking an area, allowing underlying textures and colors to show through.
These variations add visual interest and keep the collage from feeling too uniform or artificial.
Final Thoughts
If you’ve struggled with blending images in the past, this gradient-first approach is worth adopting. It simplifies the process, saves time, and produces more consistent results. Instead of fighting with edges, you’re guiding them.
A helpful step-by-step video tutorial that demonstrates this technique in action is Build A Collage by Collin Smith at Photoshop Cafe.
And if you think of collage work as a form of creative photography—and it absolutely qualifies—there’s a lot more to explore. Combining images isn’t just about technical skill; it’s about composition, storytelling, and deciding how much reality you want to preserve versus reinterpret.
That balance is where things get interesting.
A good step by step video is here: Build A Collage, Photoshop Cafe, Collin Smith
If you consider a collage a type of creative photography, see this blog post as well.
About The Author
